
General contractor Tom Silva and Kevin O’Connor build a basic serving tray to illustrate the box joint—a commonly used method for joining corners for drawers, boxes, and trays.
by Tom Silva and Kevin O'Connor , Host Updated 08/15/2024We may be compensated if you purchase through links on our website. Our Reviews Team is committed to delivering honest, objective, and independent reviews on home products and services.
Box joints are a classic woodworking technique that creates strong, attractive corners for boxes, drawers, and other projects. In this video, This Old House host Kevin O’Connor and general contractor Tom Silva demonstrate how to build a custom box joint jig using your table saw, allowing you to create perfectly spaced, interlocking fingers with ease.
Box joints, also known as finger joints, consist of interlocking square “fingers” that provide both strength and visual appeal. Unlike hidden joinery methods, box joints proudly display their construction, making them a popular choice for craftsmen who want to showcase their woodworking skills.
Box joints are one of the easiest types of joinery to cut, making them an excellent choice for woodworkers of all skill levels. They also add a decorative element to projects, with the interlocking fingers often left exposed to create a unique look.
Box joints offer several benefits for woodworking projects:
Box joints contribute to structural integrity, distributing stresses evenly across the joint. This makes them ideal for pieces requiring both strength and aesthetic appeal.
Box joints are suitable for any project where the joint will be visible and needs to be strong and attractive. Their versatility makes them a popular choice for many woodworkers for projects such as:
Creating accurate box joints requires a specialized jig, called a dado sled, for your table saw. This jig ensures consistent spacing and alignment of the joint fingers. With careful construction, the jig will become a reliable tool for various projects, offering both accuracy and efficiency.
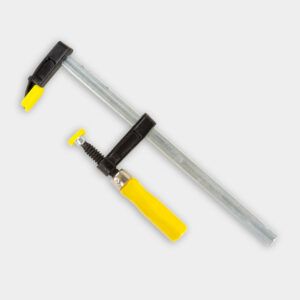
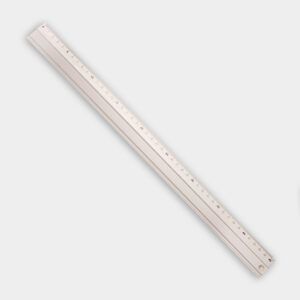
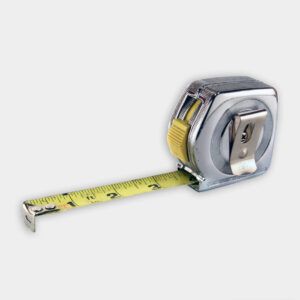
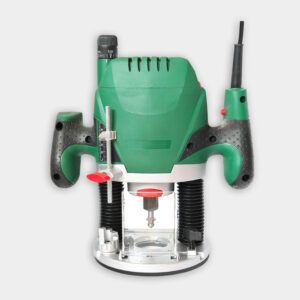
To build your box joint jig, you’ll need:
Hardwood for the guide rails and back fence is particularly important for durability.
Gather these tools before starting your project:
Tom emphasizes the importance of taking your time to set up the jig correctly, as this impacts the quality of your box joints. Precision here ensures tight, uniform joints.
With your jig complete, you’re ready to start cutting box joints for your project. Accurate setup and careful execution are essential to achieving professional results.
You will also cut the bottom tray pieces on the table saw. Cut the ends for the handles with a jig saw.
Once you’ve cut all the necessary joints, it’s time to assemble your project.
Before applying any glue, dry fit your pieces to ensure correct alignment. This step allows you to make adjustments before final assembly. Plane or sand any pieces to get a secure fit. Adjusting during dry fitting can prevent errors during the final gluing process.
Silva advises leaving the project clamped for several hours to allow the glue to set properly. Proper clamping ensures the joints are tight and aligned, contributing to the overall strength of the finished piece.
After the glue has dried, your box joint project is ready for final finishing.
First, sand everything flush. When sanding, use progressively finer grits of sandpaper to smooth all surfaces, starting with a coarser grit and working to fine grit. When you’re done, ensure the joints are flush and even with adjoining surfaces, and remove dust using a tack cloth or compressed air.
Choose a finish appropriate for your project’s intended use. For the serving tray demonstrated, Tom recommends a food-safe mineral oil to enhance the wood’s natural beauty while providing protection. Mineral oil penetrates the wood, highlighting the grain and providing a protective barrier against moisture.
Applying thin, even coats and allowing adequate drying time between coats will yield the best results.
Even with a well-made jig, you may encounter challenges when creating box joints. Understanding these issues and knowing how to address them will improve your results.
If your joints are too loose, try adjusting the position of your jig’s key or pin slightly. Small adjustments can make a big difference in the fit of your joints. Ensure that your dado blade is the correct width and that your cuts are consistent.
Joints that are too tight may require sanding or slight adjustments to your dado blade width. Test on scrap pieces until you achieve the desired fit. Avoid forcing the joints together, as this can damage the wood.
Ensure your workpieces are held firmly against the jig’s fence and that the jig itself is sliding smoothly in the miter slots. Double-check that your table saw and jig are properly aligned.


Get the latest This Old House news, trusted tips, tricks, and DIY Smarts projects from our experts–straight to your inbox.